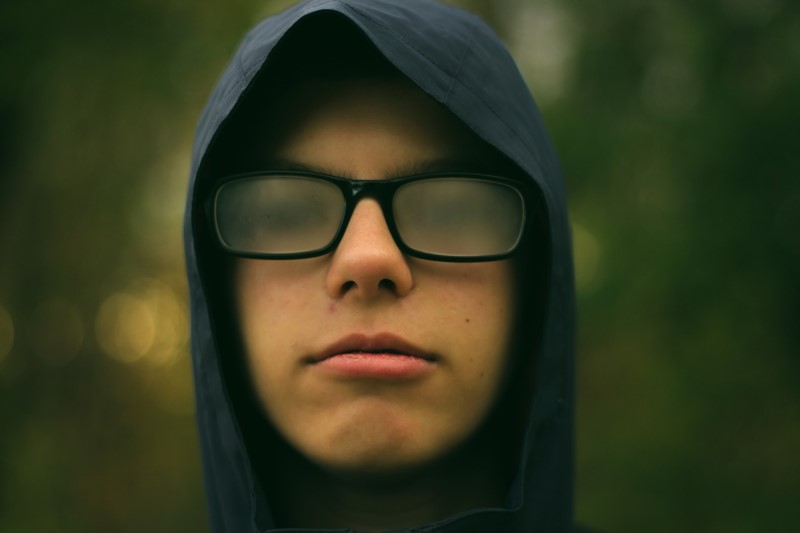
When you take portraits, sometimes it can feel like you’re just doing the same shot over and over again. While there are certain angles and approaches that will work every time to produce a flattering image, you can also get a bit creative. Using depth of field to change your portraits requires nothing more than moving a dial and concentrating – so it’s an easy way to mix up your style. Use these ideas and see what you enjoy the best.
The Eyes Have It
To make a portrait truly great, it’s important that you focus on the eyes – right? There may be some exceptions to this rule, but it is a generally accepted one. So what happens when the eyes are the only thing in focus?
This is an interesting approach which really highlights the importance of the eyes in the face. When you get into a shallow depth of field which contains only the eyes, you can also have your subject change the angle of their face to get different effects. Depending on the way things line up in front of your viewfinder, you may be able to have the lips in focus as well, or even allow a detail such as an earring to pop out. This is a great way to work with advertorial or commercial portraits, as it allows you to really highlight what matters and leave the rest as space for copy. Beauty work in particular may benefit from this idea.
You can also bring the focus out gradually, incorporating more areas of the face, until you reach a level you are happy with. One very attractive look tends to have the eyes, nose, and lips in focus, with the sharp area fading out over the forehead and cheekbones.
Find a Focus
If your subject has an interesting feature on their face, you could use selective depth of field to focus in on it. For example, if your subject is a famous speaker who is known for giving impressive speeches, you could focus on their lips and let the rest of their face fade out. This gives some information about the subject to people who see the image – they will instantly get the impression that the person’s lips are important in some way.
The same goes for scars or other facial features. Imagine that you are photographing an ex-soldier who served in an important battle, or suffered a particularly noteworthy injury while serving. You could focus in on scars on their face to highlight their history, and the demons they may still live with to this day.
A portrait does not even have to be focused on the face. This is a common misconception, and many people miss the chance for a more creative portrait as a result. For example, if you were photographing a writer, it would be an interesting idea to focus on their hands. You could seat them with their hands resting on the desk they sit at to write, then move your camera down below the edge of the desk and tilt it up, with a shallow depth of field on the hands. This will result in an image which has the hands in focus in the foreground, then the subject’s upper body and head out of focus in the background. Depending on how shallow your depth of field is, they can be reduced to a mere fuzzy shape or they may be almost clear.
The idea behind this technique is to use your focus to tell a story. Make people wonder why you have focused on that particular part of the face. If they know the subject, they may instantly understand the message.
Create Bokeh
Even if you keep the whole of your subject’s face in focus, you can still play around with depth of field. You can use a depth of field which is wide enough to cover them, but shallow enough to keep the background out of focus.
This technique will help you to create bokeh – the round (or hexagonal, octagonal, square, even heart-shaped) spots that appear when you photograph lights out of focus. If you are working in a studio, you can simply string up fairy lights or Christmas tree lights across your background to achieve this effect.
On location, this works a lot better when it is approaching the evening – you can get just enough light to keep your subject clear, but buildings in the background may be turning lights on. During the festive season it’s very easy to find lights of the type that work best, even in the daytime. This may feel like a clichéd idea, especially for holiday sessions, but it looks great and your clients will probably love it.
Hide Everything
If you want to go onto the very creative side, it’s possible to use depth of field to put your subject totally out of focus. This would be an unusual approach, and it needs to be considered very carefully: you want to give the impression that you have done this on purpose, not that you don’t know how to shoot!
Some examples could include having your subject blurry to indicate a certain state of mind, perhaps particularly if for use in an editorial capacity alongside an interview or feature that reinforces this idea; focusing on something else, like having a guitar in focus while the guitar player stands behind blurred out; or using motion to create an impression of movement and chaos.
This technique is definitely not for the faint-hearted, as it is difficult to pull off in an artistic way. Still, it can be very effective when it is done correctly!
With all of these ideas in your arsenal, you should be able to work on making your images more creative from now on. Who knew that this one simple dial on your camera could make a difference in so many ways, beyond just getting the focus right?


