Photo by Bess-Hamiti / CC0
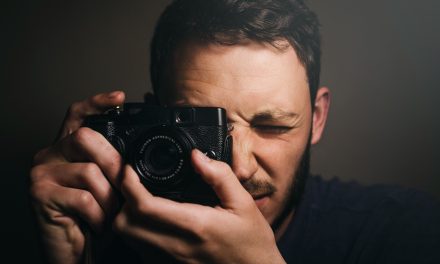
When you look at your portraits, you may feel that they are lacking a certain something. Sharp focus can be hugely important in portrait photography, particularly around the eyes. If your eyes are blurred or out of focus, there’s very little chance that you will have a great photo. This can ruin all of your efforts in setting up the shot, so follow these tips in order to get those crystal-clear images.
1. Stabilize your camera
The first thing that you need to do is to make sure your camera is stable. Any amount of shake coming into the camera may blur your image, even if only slightly. What’s more, with a stable camera, you can push your shutter speed down in order to keep your ISO down in low-light situations. If your ISO is high, your image will appear grainy rather than sharp.
The best way to stabilize your camera is through the use of a tripod. Make sure that you purchase a solid, sturdy tripod which won’t wobble or sway under the weight of your camera. It’s also very important that you set it on solid ground and that you don’t nudge or lean against the tripod with your body.
If you don’t have a tripod, there are other ways to do it. Rest your camera on any flat surface available, such as a rock or a fence post. If nothing is available, adopt a strong posture: tuck your elbows in towards your body and use both hands to hold the camera up to your eye.
The more stable your camera is, the sharper your image will be.
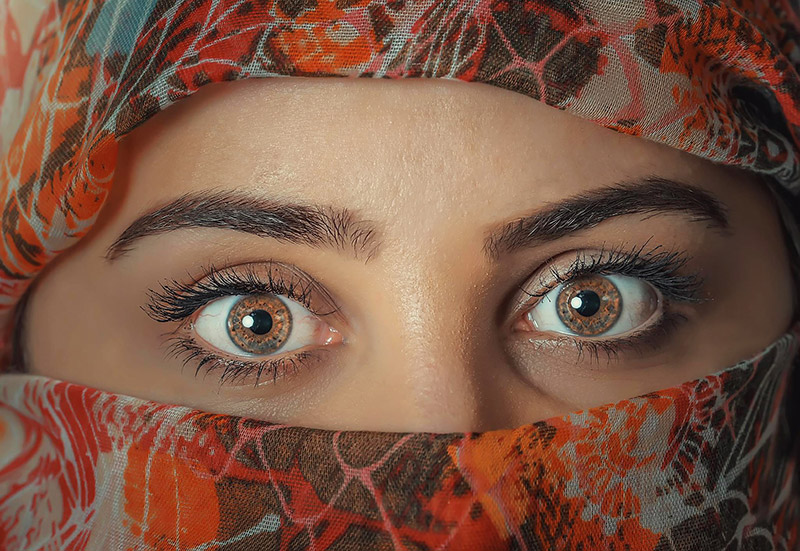
2. Check your focus
Whether using auto or manual focus, you should always check that the focal point is in the right place: the eyes. You can adjust your autofocus points by changing to a single point in the left-middle of the frame. When you turn your camera to a portrait orientation, this point will be around the right level for the eyes.
You should also think about your depth of field, or the range of the photograph that will be in focus in your finished shot. If you have a very shallow depth of field with a low f-stop, you could have the eyes in sharp focus with the nose and mouth out of focus. If you use a high f-stop and a wide depth of field, the whole of your model’s face could be in focus.
So, which of these is the right approach? There isn’t a set answer – it’s down to taste and style. If you are struggling to get that focus pin-sharp, start with a high f-stop. This will help you to get used to using the focus properly.
2. Edit carefully
When it comes to post-production, some photographers seem to think that you can just sharpen an image after the fact and everything will be fine. Sadly, this technique leaves a lot to be desired.
It’s important to use the sharpening tool very carefully when editing. If you go too far, your image will look awful – even if it is sharp, no one will notice because they will be staring at the pixels. If you use a very gentle touch, and look away from your image for a moment before looking back to check it still looks good, then you may be able to get that extra touch of sharpness.
4. Upgrade your equipment
It’s important to note that the camera and lens you use can also affect your sharpness. In fact, if you want something really sharp, you should try going back to a good quality film camera. These can achieve better results than a digital camera!
If you’re sticking with DSLRs, then go for an upgrade. Your lens is the most important factor, so choose a new one in very good condition and try to avoid zoom lenses if possible. Read reviews and look at comparisons before you choose.
The perfect marriage of conditions, lens, camera body, and stability can give you a crystal-clear portrait. But, none of it will come together if you don’t know how to set up your camera and shoot it.
Remember that the bad workman blames his tools – train yourself first and worry about your equipment second!