If you are a portrait photographer, or someone who specialises in a different type of photography, then you may be interested to try out a different style of editing in order to see how you can improve your own images. Few fields are as exacting as fashion photography – it is only beaten by beauty and makeup photography or product photography in terms of the exhaustive editing that needs to be done.
In order to test your limits and figure out what style of editing works best for you, as well as picking up tips and techniques that can apply to any form of photography, let’s take a look at how a fashion photographer edits.
Image by Анастасия Гепп from Pixabay
Outsource
The first point to make is that many of the top fashion photographers work with editors who do their post-production for them, instead of doing the editing themselves. Why? Because the level of work required is very specialised, and it’s difficult to cultivate skills at a high enough level in both photography and post-production.
It also saves time – the fashion photographers working at the top of their game are very busy and shoot on a rapid schedule, often on location for days or even weeks at a time. In this scenario, it’s more sensible to ask another person to take care of post-production than to do it yourself.
The lesson to take away here is that if this level of editing is out of your league, you can always find someone to do it for you. Don’t be afraid to ask for help – the best do!
Be exacting
Fashion photography is very detail-oriented. Entering the post-production phase means looking at everything inside your frame up close and removing any imperfections or distractions that could get in the way.
If you are shooting a portrait, for example, then ask yourself the following questions:
- Is the background free of unnecessary elements?
- Are there any splotches of colour or small elements behind the subject that could draw the eye away from the subject?
- Are the colours in the image complimentary?
- Can you see any artefacts on the image introduced by the lens – such as dust or scratches?
- Are there any imperfections on the skin – such as spots, red patches, or even hairs that are out of place?
- Is the subject’s hair smooth and neat? Are there any flyaway hairs?
- Does the clothing and jewellery look sharp?
- Is the clothing and jewellery displayed in a flattering way?
- Are there any mistakes – such as a visible garment label or bra strap?
There may be more issues that arise the closer you look, depending on the exact circumstances of your shoot. Be as precise as possible – take away anything that is unnecessary, wrong, or distracting, and strive for perfection.
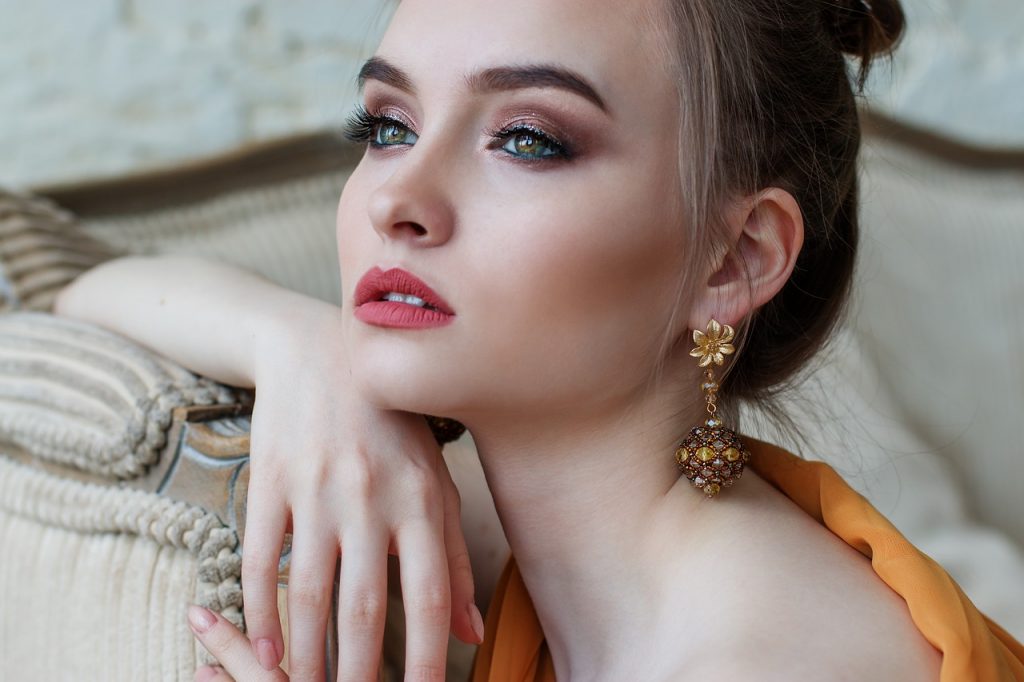
Image by Анастасия Гепп from Pixabay
Play with reality
One of the most-criticised elements of fashion photography is that it often plays with reality. While it is no longer the case that all fashion magazines publish work like this, some still do.
Playing with reality is all about looking for the absolute perfection of fantasy. It means that legs can be longer than they are in real life, skin can be smoother, eyes and lips larger, hair more shiny. In fact, these are all definite examples of edits that can be expected in the fashion industry.
A lot of this involves the more complex of Photoshop’s tools, such as Liquify. Retouchers will manipulate the body to be as attractive as possible, according to the pre-ordained rules of our specific moment in time’s tastes. At this point in time that means larger bums, pinched-in waists, and strong thighs, though this is always subject to change – go back twenty years and you would be creating a slim figure with almost matchstick-like arms and legs, and a small chest and bum.
Knowing the trends is very important for fashion photographers, so it’s a good idea to look at fashion magazines and what they are publishing right now. What kind of body shapes and facial structures can you see? These are the ones that you should try to introduce to your images.
Of course, high-level editing which can change the entire shape of a model’s body and face is a serious skill, and not everyone can take it that far. However, you can expect to spend hours on each image if you want to get that glossy look that we expect in magazines.
Many fashion photographers will use composites to get the perfect look. This might mean using the head from one image, the legs from another, and so on. You can even use several different combinations of hair in order to create a fuller look. Putting these composites into place requires careful separation of each element, pasting them onto a background image, and ensuring that the edges are not visible. You can do this by the use of light blurring and placement on boundaries between areas that hide the transition. A good example is hiding a facial change by bringing it right up to the edge of the hair.
Make sure that the lighting is the same across all elements of your composites before you combine them so that it does not appear that one part of the image was taken from a different moment.
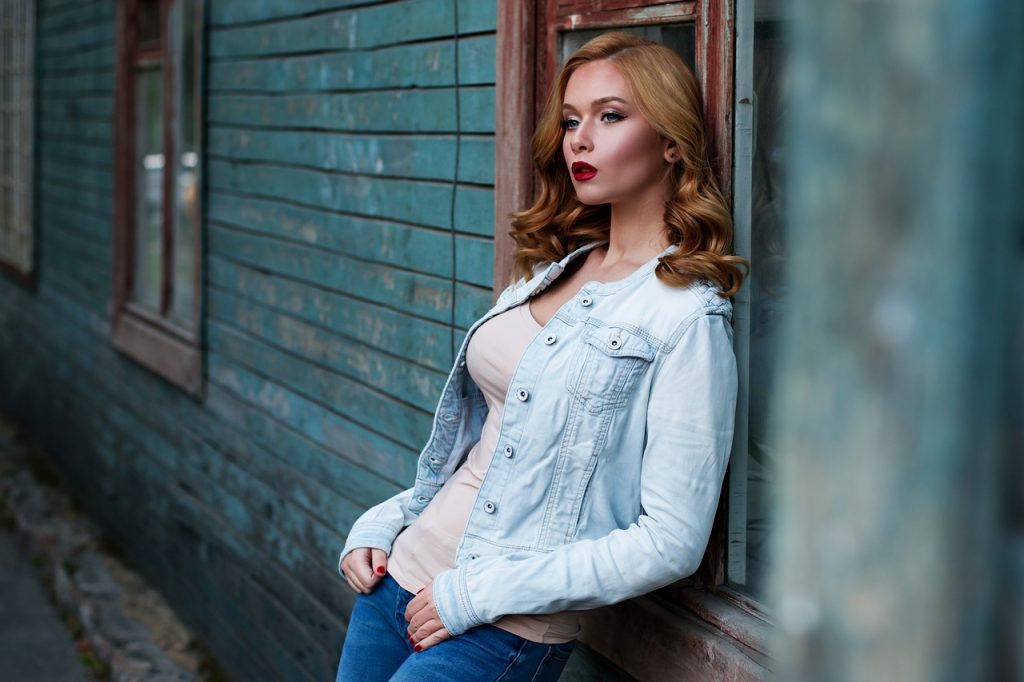
Image by Анастасия Гепп from Pixabay
Keep it real
On top of all of this fantasy manipulation, there is another stipulation that you might not expect. While the editing will create something very different from reality, there should still be a feeling when looking at the image that it is real.
This means maintaining the illusion as far as possible. Check that your work does not contain any of these tell-tale mistakes:
- Distortions of lines or patterns in the background, making it clear that Liquify has been used to move the body in
- Skin which is too smooth and appears plastic, without any texture or pores
- Mistakes of anatomy – for example, an extra or missing limb, an elbow or knee bent too far in the wrong direction, an angle which is impossible to recreate
- Colour distortion, such as when the healing or patch tool mistakenly pulls in a cast of the wrong colour
- Halos or dark shadows around places which have been edited for contrast and brightness
Separate your layers
So, how do you edit something into a total fantasy whilst avoiding those mistakes? We’ll go over one key technique here, which involves working on different layers.
To begin with, you will want to copy the background layer of your main image at least once. This will give you two layers to work on: your model, and your background. This means you don’t have to distort the background while working on the model.
First, do the changes that you would like to do to the model, such as Liquifying the body to make it slimmer or even increase the size of some areas.
Once you are happy with the results, you will probably see a lot of distortion in the background. This will look a real mess, and you’re probably thinking that you have ruined the photo! That’s fine – the next step is going to fix everything.
Start by using a small size eraser with a low hardness percentage, and go in to erase all of the distorted parts of the background. Be very careful about not erasing any part of the model – at the very boundary between the model and the background, you may wish to use the pen tool to draw all the way around and make an inverse selection to ensure that you are as precise as possible. If the background is more simple, you could get away with using the magic wand selection tool for this as well.
Next, you will see that you have your model exactly how you want her, the background back to normal, but probably also some areas where the original image is peeking through. If you have slimmed the model down, she will now reappear because the background is visible!
To fix this, you can usually achieve good results with the clone tool. Take the areas of background next to the model and copy them across so that the patterns or lines are continued as normal. Again, this requires great precision – there should be no distortion that could key the reader in to this being an edit.
If the clone tool is not adequate – for example, if you do not have a clear area to clone in order to create the pattern that you need – then some artistic talent may be required in painting in something realistic. However, this can be avoided by the simple act of photographing the background sans model at the time of the shot. You then have a clear image you can use to fill in those needed gaps.
Your final result should be multiple layers which end up gelling together perfectly, so there is no way to tell that the model or the background has been changed. It can take a lot of practice and minute work on the details to get to this point.
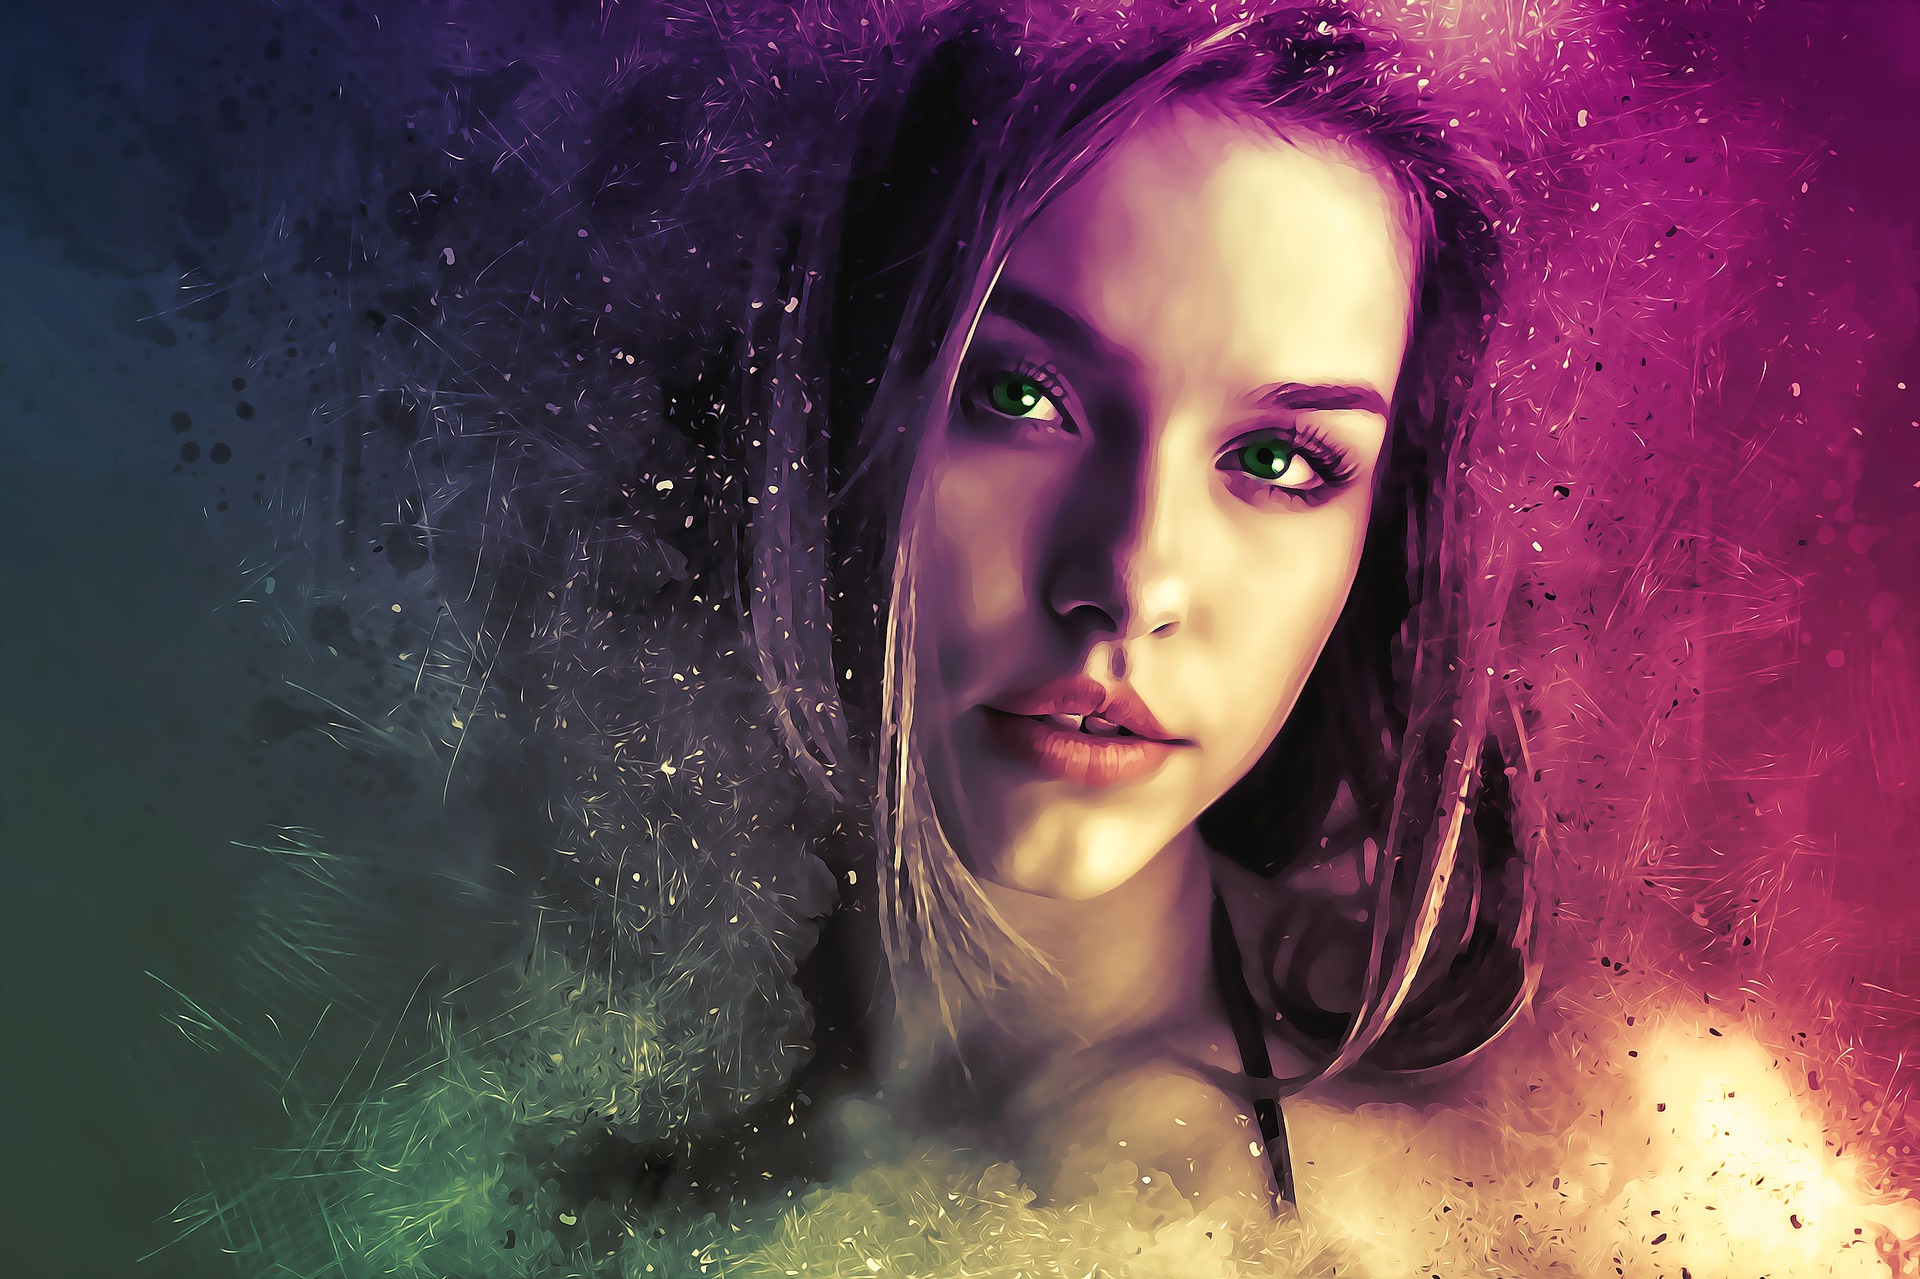
Image by Enrique Meseguer from Pixabay
Be artistic
Finally, the last stage of the editing process may be one which is a little more artistic. It is not at all unusual for fashion photography to contain elements of illustration – search on Pinterest and you will find whole realms of inspiration on this front.
Try inserting typography into the image if you aren’t up for drawing. Most editorials published in magazines will contain text such as wardrobe credits, as well as a title for the editorial itself. This is more of a graphic design skill, but it will help you to understand how magazines need empty space or clear areas where they can place these text elements.
There is no one way to edit fashion photography, because within this niche there are lots of different styles and conventions. The typical techniques that are used, however, can be extremely useful in other genres of photography. If you can successfully edit out a discarded plastic bag from a landscape shot, give your portrait a makeover, or cut out a dog and put it into a new location, then you have skills that you can apply when working outside of the fashion world!